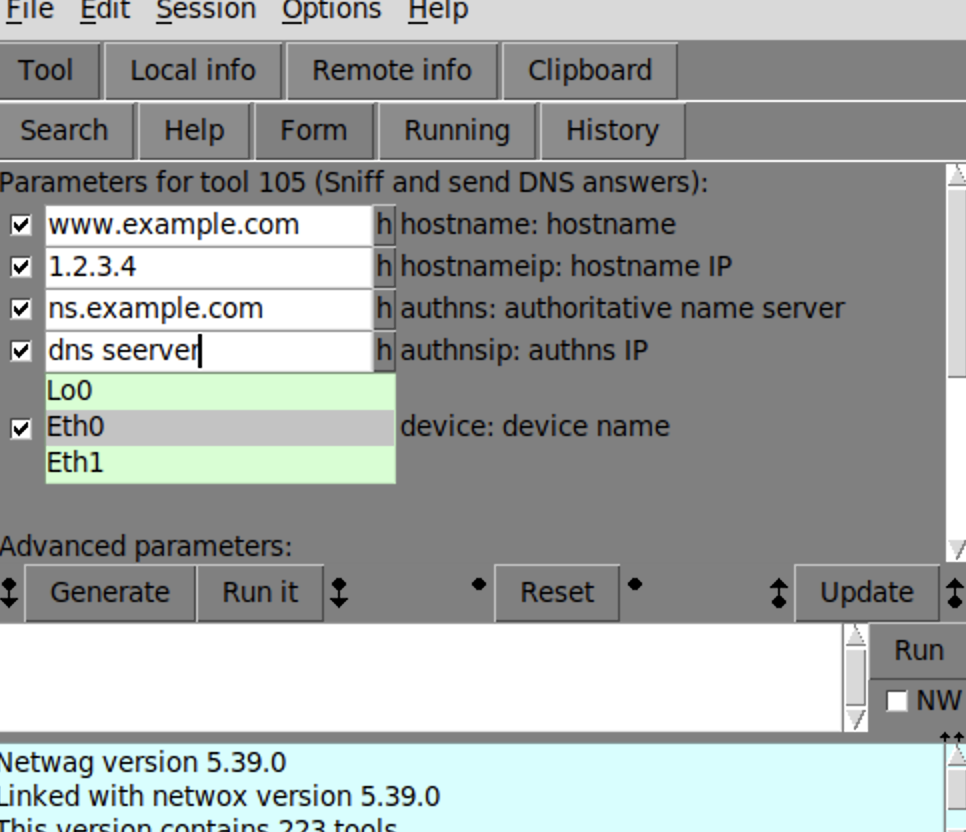
vim named.conf.local // // Do any local configuration here //
// Consider adding the 1918 zones here, if they are not used in your // organization //include "/etc/bind/zones.rfc1918"; zone "example.com" { type master; file "/etc/bind/db.example.com"; };
zone "192.168.3.x" { type master; file "/etc/bind/db.192.168.3"; }
1 2 3 4 5 6
vim named.conf.options options { directory "/var/cache/bind"; dump-file "/var/cache/bind/dump.db"; 禁用dnssec }
1
cd /var/cache/bind
修改域目录权限
1
sudo chmod -R 777 /var/cache/bind
1 2 3 4 5 6 7 8 9 10 11 12 13
vim db.192.168.3 $TTL 3D @ IN SOA ns.example.com. admin.example.com. ( 2008111001 8H 2H 4W 1D) @ IN NS ns.example.com.
200 IN PTR www.example.com. 102 IN PTR mail.example.com. 115 IN PTR ns.example.com.
1 2 3 4 5 6 7 8 9 10 11 12 13 14 15 16
vim db.example.com
$TTL 3D
@       IN      SOA     ns.example.com. admin.example.com. (
                2008111001
                8H
                2H
                4W
                1D)

@       IN      NS      ns.example.com.
@       IN      MX      10 mail.example.com.

www     IN      A       192.168.3.200
mail    IN      A       192.168.3.102
ns      IN      A       192.168.3.115
*.example.com.  IN      A 192.168.3.200

 wechat